One of the only drawbacks to bringing your camera absolutely everywhere is the purse dilemma. I feel like that should be emphasized so it sounds more ominous. The purse dilemma. (How’s that?) Selecting a bag big enough to carry everything you need but also big enough to slip your camera into, with padding and protection, and yet remains stylish can be daunting. Tossing an expensive SLR into a purse with lipstick tubes and other point scratch-inducing surfaces is out of the question. So what is one to do?
There was a time when if you wanted to take your camera out protected, you had to suck it up and bring it in a camera bag. Thankfully now there are gorgeous, high quality pre-made camera bags that are purses as well (Ephiphanie, *emera, ONA, Kelly Moore, Jo Totes, etc). While these are all fabulous, if it doesn’t meet my list of “must haves”, and I don’t love at first sight, I don’t want to buy it. So I make my own! And it might just suit you to make one yourself too.
STEP ONE – A CAMERA BAG
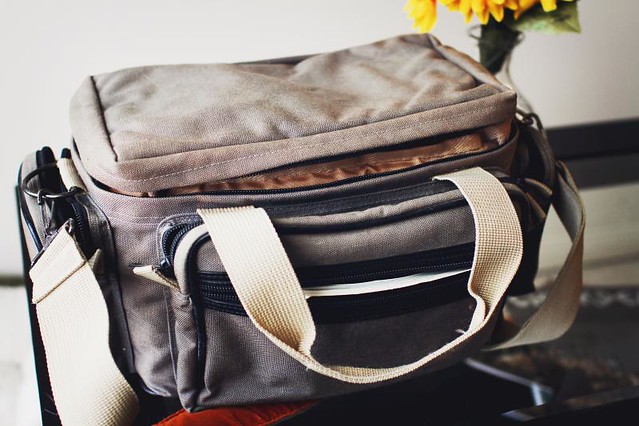
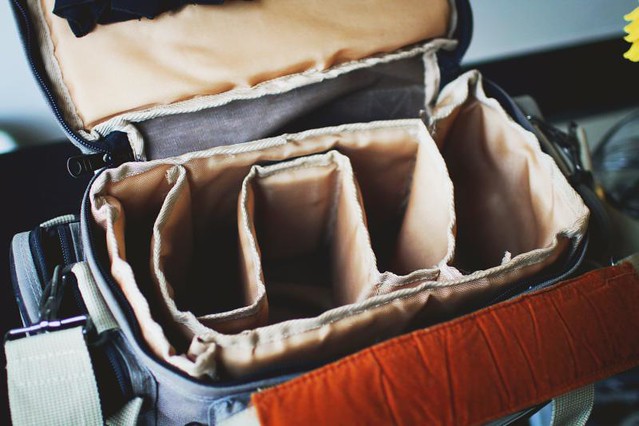
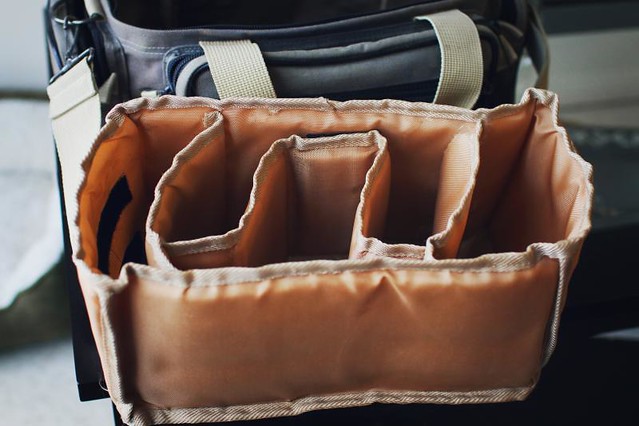
You’ll need a camera bag. Preferably one medium sized, with an insert small enough to fit into your purse, but big enough to carry your camera plus some extras. And, most importantly, the the inside padding needs to be able to pop out. Most camera bags do this, but if you don’t already have a few camera bags lying around the house, you’ll want to make sure before you buy one. Photojojo also has this beautiful camera bag insert ready to go for this specific purpose, as well.
STEP TWO – A PURSE
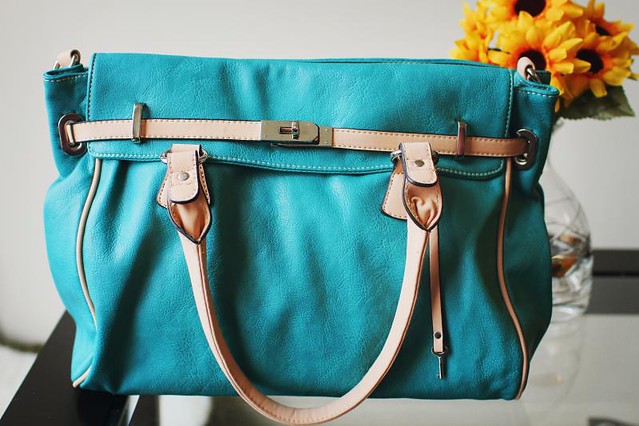
This is my second DIY camera purse, and I’m using the same insert as before (it was my mothers), so when I went bag shopping I was able to pop in the empty insert and see if it fit. If you already have a purse in mind, and don’t have a camera bag already at home, head to your local camera-bag carrying shop with your empty purse and start popping in inserts. (And you should probably tell the staff what you’re doing too, so they don’t think you’re up to no good.) Just want to make sure that your purse is wide enough and deep enough to hold an insert. I am using the David Jones Large Top Zip Satchel.
STEP THREE – YOUR CAMERA BAG PURSE
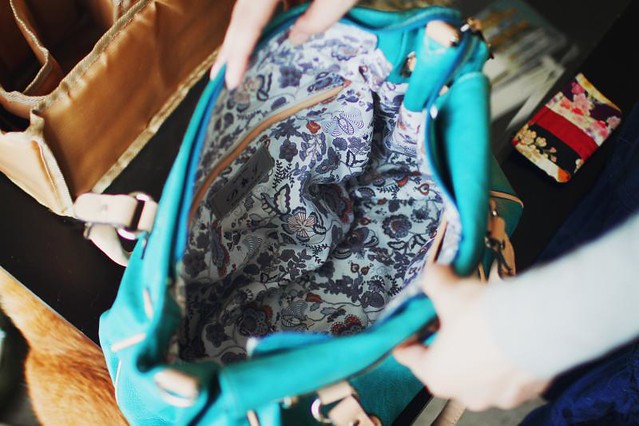
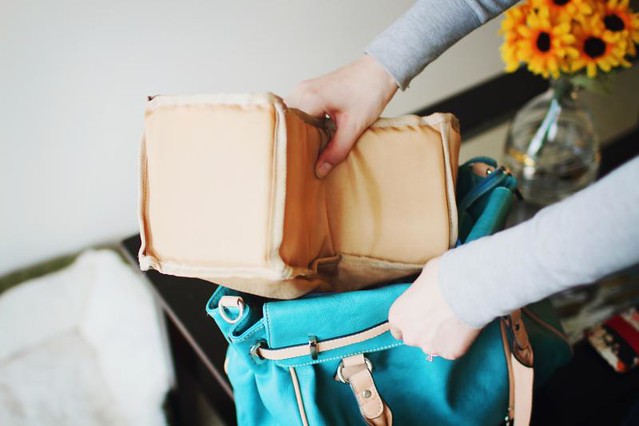
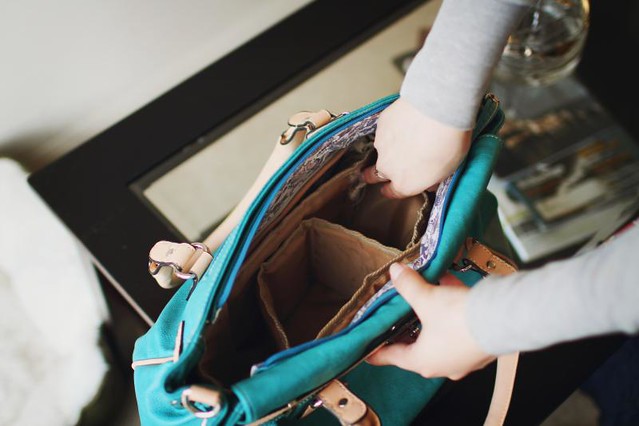
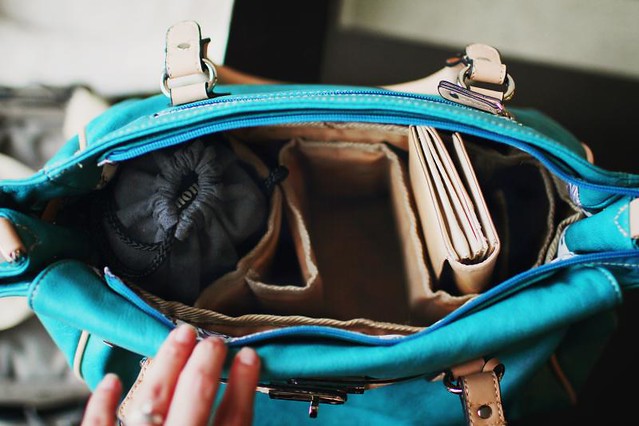
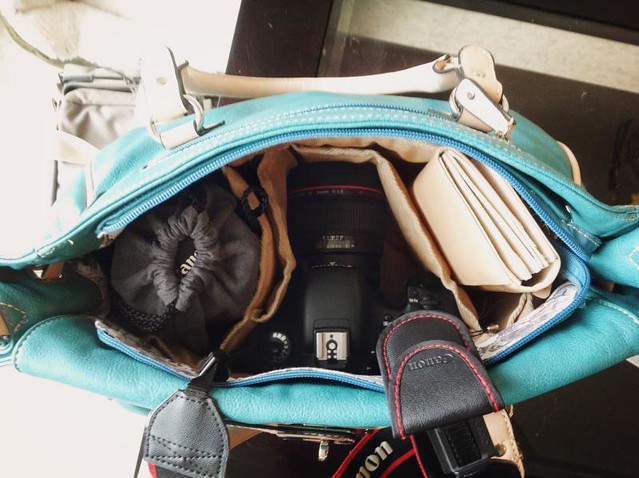

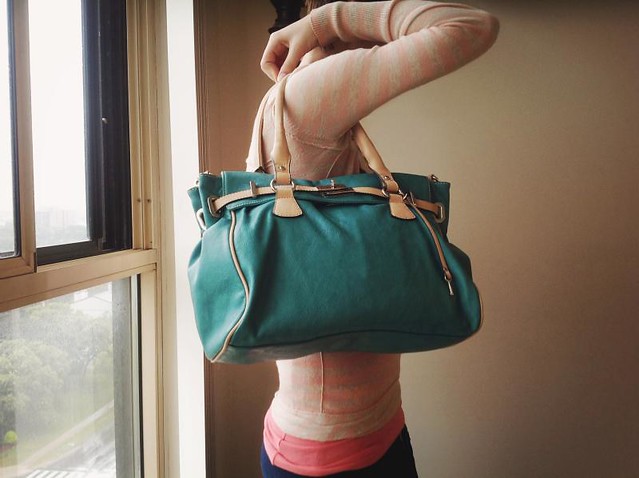
My camera bag fits my 7D with mounted 35mm 1.4L, a 100mm 2.8 with hood, my wallet, change purse (Canada: Where Coins Actually Matter) etc, etc. I don’t always walk around with an extra lens, but I thought I’d show what this baby can do. Enjoy your new camera bag purse!



12 Comments
Hannah
19 Jun 2012 at 11:54 amHi Sara,
Thank you for a fun tutorial. I have an off-topic question though: did you create a preset to get this lovely film look to these photos? I love this look and would like to create something similar.
Sara
20 Jun 2012 at 7:47 pmHi Hannah! Thanks for your comment! I actually used “Burdock” (I think) directly from my Reminisce action set for Photoshop! I hope that helps. If it wasn’t Burdock it was probably Amaranth!
Hannah
21 Jun 2012 at 9:30 amThanks, Sara. 🙂 If I purchase your Photoshop Actions, can they be used in Lightroom 4?
I see you now have a 5D Mark III. Congrats!!
Sara
21 Jun 2012 at 5:58 pmHi again, Hannah! As of right now they can’t be used in Lightroom- but I am working on converting each set to Lightroom. I can add you to my email list and notify you as soon as that’s available, if you’d like!
Hannah
22 Jun 2012 at 10:34 amYes I would; thanks!
Brianna
18 Jun 2012 at 12:14 pmI love this idea! You really have some great ideas and information listed on your blog. I just wanted to know where you got this purse that you used in this photo? I LOVE it!
Sara
18 Jun 2012 at 7:32 pmHi Brianna! The bag I’m using is the David Jones Large Top Zip Satchel from Winners, but they do have it listed at Sears Canada.
=)
alice
7 Jun 2012 at 10:17 pmSara, thanks for your lovely and encouraging comment. Also, thank goodness for inserts like this! I do this for all my bags when I’m not on an official shoot.
Janice // twoaftertwenty
4 Jun 2012 at 1:49 pmThis is too cute! 🙂
Dottie
2 Jun 2012 at 5:20 pmOh my gosh! This is so clever! I’m totally going to do this with my big Chloe bag. Perfect for traveling with my cameras while looking chic, aka not like a stereotypical tourist. 🙂 Thank you so much for sharing this tutorial!
Andrea
1 Jun 2012 at 6:44 pmThis is a wonderful idea!! ♥♥
Marisa
1 Jun 2012 at 5:45 pmYes, fantastic, fabulous! Love your bag. I made a few of my own, with handmade padding and purchased like yours. Now, tell meâ€â€how do I fit my camera and an extra lens in a shoulder bag that won’t bump people in a crowded room? I feel like I’m carrying an elephant under my arm. :/